Introduction: Making Web3 Integration Simple
At Onchainsite, our mission is to make it effortless for anyone to build powerful onchain websites: no code, no setup headaches, just your creativity and vision.
For those who like to get their hands dirty or want to understand what happens behind the scenes, OnchainKit from Coinbase is the open-source toolkit that makes all of this possible. It provides plug-and-play components for wallet connectivity, identity, and onchain interactions, and it’s one of the core technologies that powers Onchainsite itself.
In this tutorial, we’ll walk through a real integration example: replacing a non-functional “Connect Wallet” button with OnchainKit’s fully featured wallet component, then using it to authenticate users and manage project ownership in a Next.js dashboard.
Watch the Full OnchainKit Integration
If you prefer visual learning, you can watch the complete walkthrough on YouTube:
Our Goal
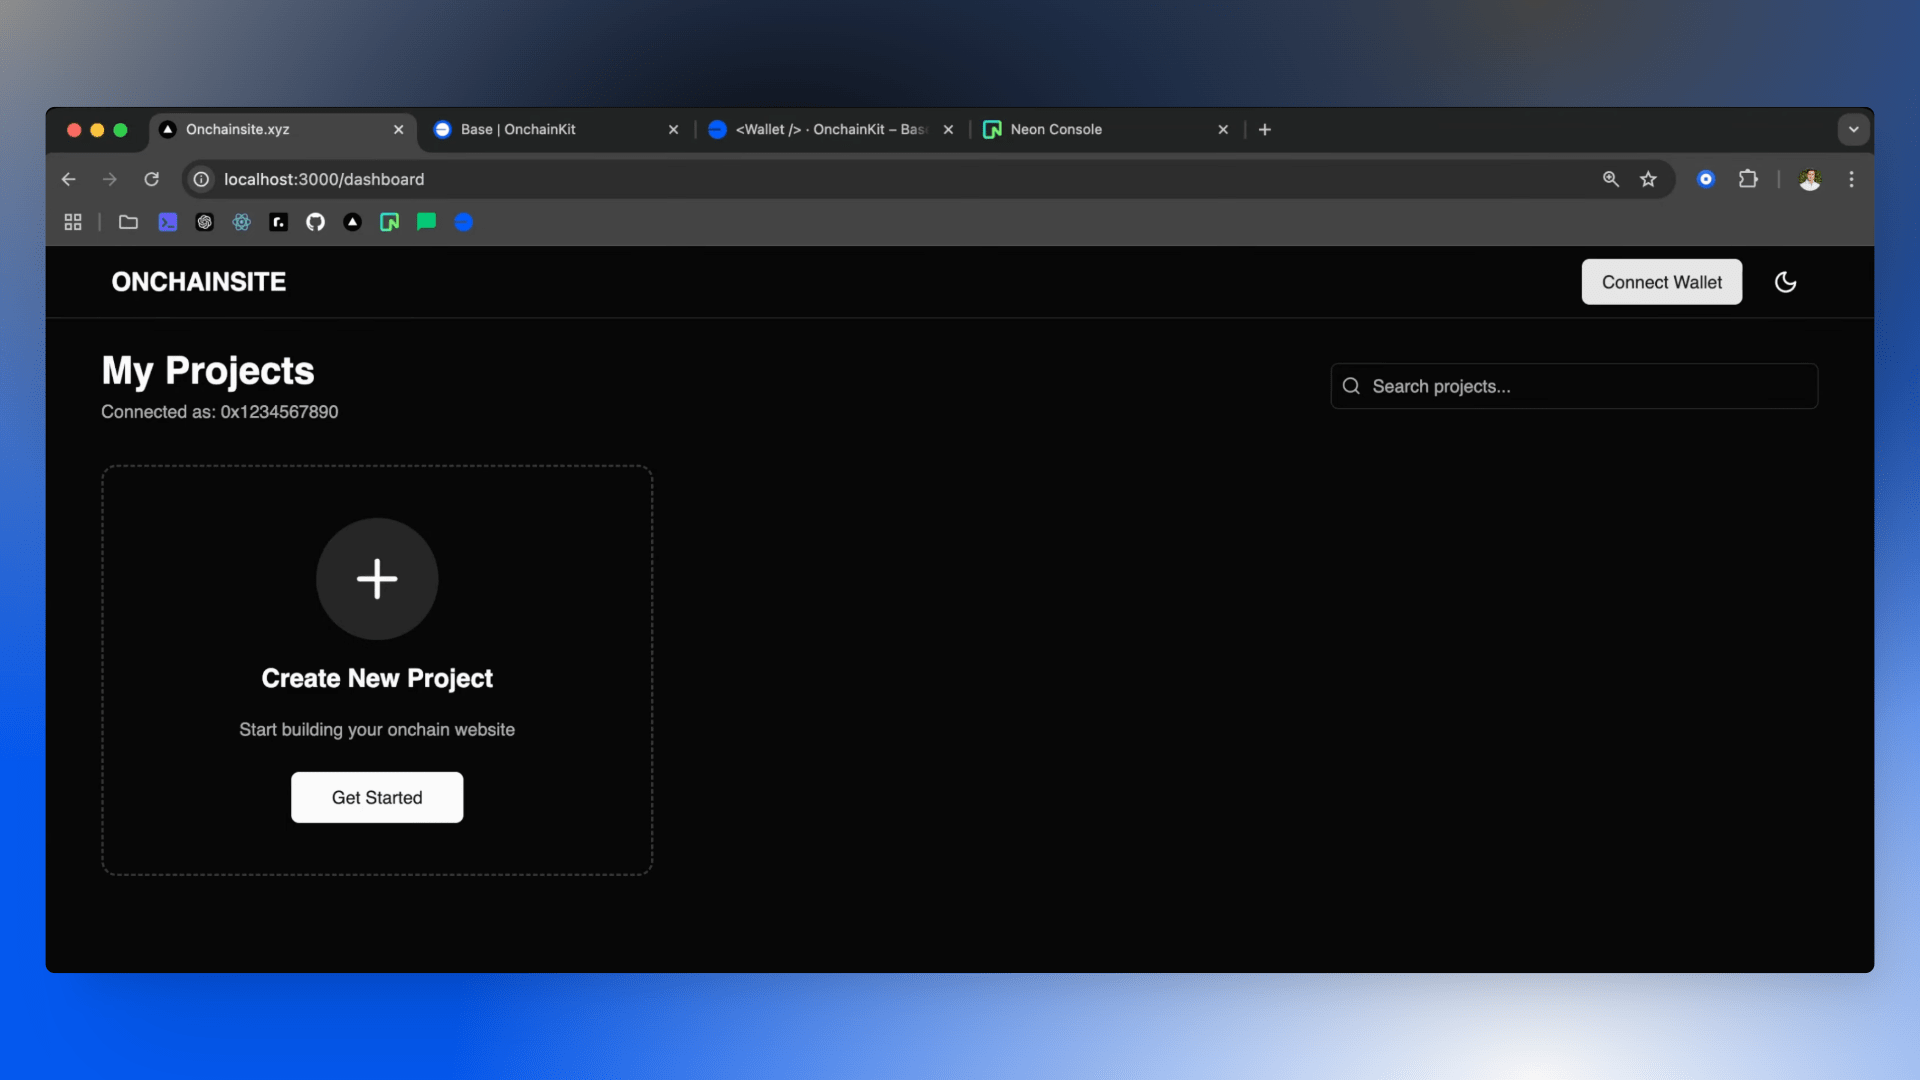
We started with a dashboard page that had:
- A hard-coded wallet address string
- A non-functional "Connect Wallet" button
- A hard-coded connection state
Our goal was to:
- Replace the button with OnchainKit's
WalletDefaultcomponent - Fetch the real user's wallet address on connection
- Use that address when creating new projects
- Fetch projects owned by the connected user
Step 1: Installation
First, install OnchainKit in your Next.js project:
npm install @coinbase/onchainkitThe installation is quick and OnchainKit has minimal dependencies, keeping your bundle size lean.
Step 2: Get Your API Key
Head over to the Coinbase Developer Platform and create a new project to get your API key. Once you have it, add it to your .env file:
NEXT_PUBLIC_ONCHAINKIT_API_KEY=your_api_key_hereThis API key enables OnchainKit's features like wallet connection, identity resolution, and transaction handling.
Step 3: Set Up the Provider
Wrap your application with the OnchainKit provider. In a Next.js app, this typically goes in your root layout or a dedicated providers file:
"use client";

import { OnchainKitProvider } from "@coinbase/onchainkit";
import { QueryClient, QueryClientProvider } from "@tanstack/react-query";
import { base } from "wagmi/chains";
import { WagmiProvider } from "wagmi";
import { config } from "@/lib/wagmi";

const queryClient = new QueryClient();

export function Providers({ children }: { children: React.ReactNode }) {
  return (
    <WagmiProvider config={config}>
      <QueryClientProvider client={queryClient}>
        <OnchainKitProvider
          apiKey={process.env.NEXT_PUBLIC_ONCHAINKIT_API_KEY}
          chain={base}
        >
          {children}
        </OnchainKitProvider>
      </QueryClientProvider>
    </WagmiProvider>
  );
}
Then wrap your app in the layout file:
import { Providers } from "./providers";

export default function RootLayout({
  children,
}: {
  children: React.ReactNode;
}) {
  return (
    <html lang="en">
      <body>
        <Providers>{children}</Providers>
      </body>
    </html>
  );
}
Step 4: Import OnchainKit Styles
Add the OnchainKit styles to your global CSS or layout:
import "@coinbase/onchainkit/styles.css";These styles ensure that OnchainKit components look great out of the box, with a professional, modern design that matches Coinbase's design system.
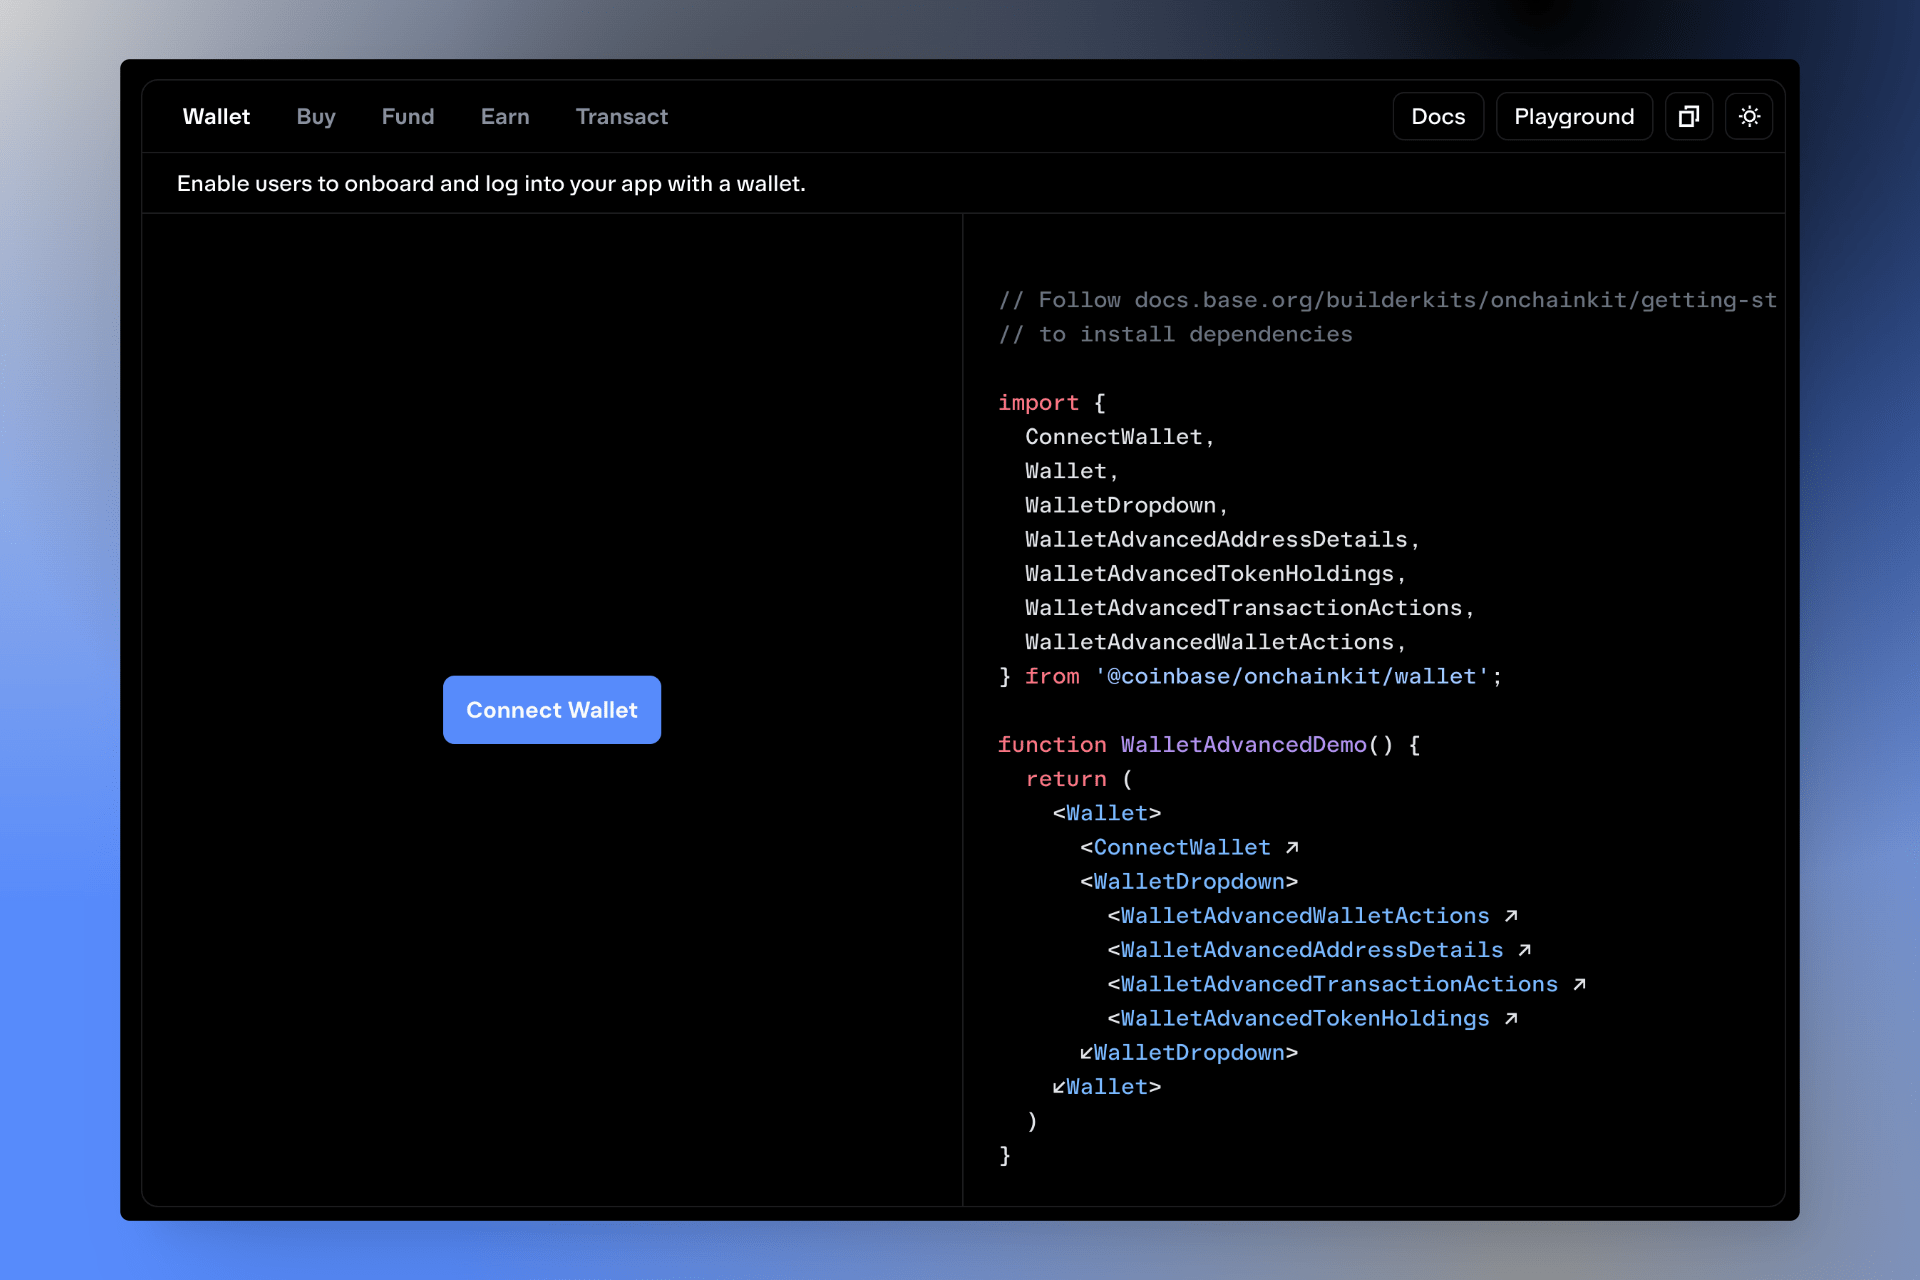
Step 5: Add the Wallet Component
Now comes the fun part! Replace your old connect button with OnchainKit's WalletDefault component:
import { WalletDefault } from "@coinbase/onchainkit/wallet";

export function DashboardHeader() {
  return (
    <header className="dashboard-header">
      <h1>My Dashboard</h1>
      <WalletDefault />
    </header>
  );
}
That's it! You now have a fully functional wallet connection button with:
- Connect wallet functionality
- Wallet address display
- Disconnect option
- Network switching
- Beautiful UI
Step 6: Access the Connected Address
To use the connected wallet address in your app, use the useAccount hook from wagmi:
"use client";

import { useAccount } from "wagmi";
import { WalletDefault } from "@coinbase/onchainkit/wallet";

export default function DashboardPage() {
  const { address, isConnected } = useAccount();

  return (
    <div className="dashboard">
      <header>
        <h1>Dashboard</h1>
        <WalletDefault />
      </header>

      {isConnected ? (
        <div>
          <p>Connected as: {address}</p>
          <ProjectsList owner={address} />
        </div>
      ) : (
        <p>Please connect your wallet to continue</p>
      )}
    </div>
  );
}
Step 7: Use the Address in Your Application
Now you can use the wallet address throughout your application. For example, when creating a new project:
"use client";

import { useAccount } from "wagmi";
import { useState } from "react";

export function NewProjectForm() {
  const { address } = useAccount();
  const [projectName, setProjectName] = useState("");

  const handleSubmit = async (e: React.FormEvent) => {
    e.preventDefault();

    // Create project with the connected wallet as owner
    await fetch("/api/projects", {
      method: "POST",
      headers: { "Content-Type": "application/json" },
      body: JSON.stringify({
        name: projectName,
        owner: address, // Use the connected wallet address
      }),
    });
  };

  return (
    <form onSubmit={handleSubmit}>
      <input
        value={projectName}
        onChange={(e) => setProjectName(e.target.value)}
        placeholder="Project name"
      />
      <button type="submit">Create Project</button>
    </form>
  );
}
Step 8: Fetch User-Specific Data
You can also use the address to fetch data specific to the connected user:
"use client";
import { useAccount } from "wagmi";
import { useEffect, useState } from "react";
export function ProjectsList() {
const { address } = useAccount();
const [projects, setProjects] = useState([]);
useEffect(() => {
if (!address) return;
// Fetch projects owned by the connected wallet
fetch(`/api/projects?owner=${address}`)
.then((res) => res.json())
.then((data) => setProjects(data));
}, [address]);
return (
<div className="projects-grid">
{projects.map((project) => (
<ProjectCard key={project.id} project={project} />
))}
</div>
);
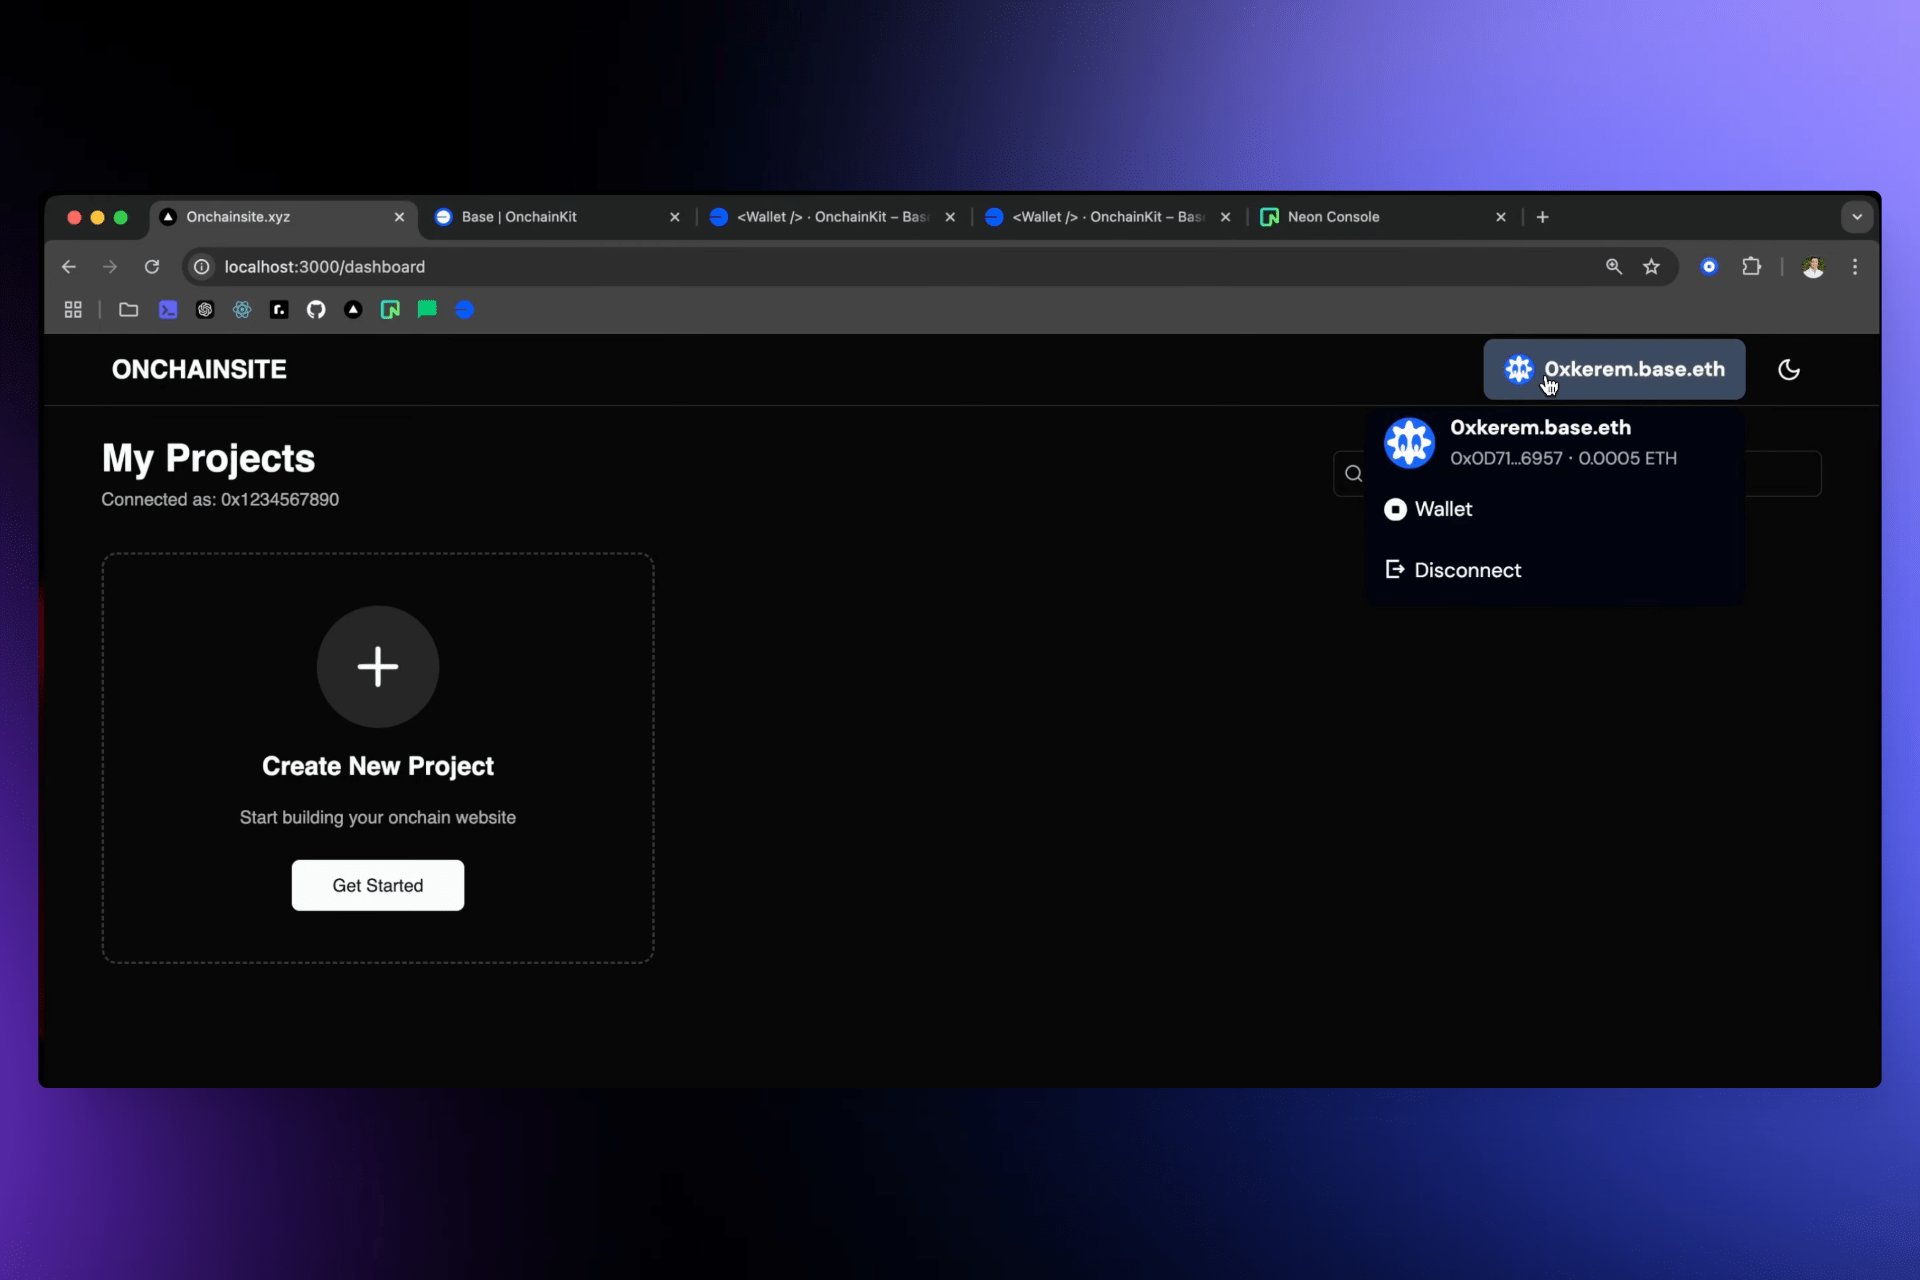
}Verifying It Works
After integration, test your implementation:
- Click the "Connect Wallet" button
- Connect your Coinbase Wallet or other Web3 wallet
- Verify your address appears in the UI
- Create a new project and check that it's assigned to your wallet address in the database
- Disconnect and reconnect to ensure state management works correctly
Beyond Basic Connection: Identity Components
OnchainKit provides more than just wallet connection. You can also add identity components to display user information:
import {
  Identity,
  IdentityAvatar,
  IdentityName,
  IdentityAddress
} from "@coinbase/onchainkit/identity";

export function UserProfile() {
  const { address } = useAccount();

  return (
    <Identity address={address}>
      <IdentityAvatar />
      <IdentityName />
      <IdentityAddress />
    </Identity>
  );
}
These components automatically resolve ENS names, Basenames, and display avatars when available.
Next Steps: Sign-In With Ethereum (SIWE)
For production applications, you would typically want to implement Sign-In With Ethereum (SIWE) to ensure that connections can't be spoofed for user-gated access. This prevents malicious users from manipulating network requests by sending fake addresses.
OnchainKit's documentation provides a complete guide for implementing SIWE, which adds cryptographic proof that the user actually controls the wallet they claim to own.
// Example SIWE flow (simplified)
import { SIWESession } from "@coinbase/onchainkit/identity";

// 1. User connects wallet
// 2. Request signature from user
// 3. Verify signature on backend
// 4. Create authenticated session
Key Takeaways
Integrating OnchainKit into your application is remarkably straightforward:
- Install the package (one command)
- Configure your API key and provider (5 minutes)
- Replace your connect button with
WalletDefault(one component) - Use the
useAccounthook to access wallet data
The entire process can be completed in under 15 minutes, and you get a production-ready wallet integration that handles:
- Multiple wallet types (Coinbase Wallet, MetaMask, WalletConnect, etc.)
- Network switching
- Connection state management
- Beautiful, accessible UI
- Identity resolution
Why OnchainKit?
OnchainKit stands out because it:
- Just works: Minimal configuration, maximum functionality
- Looks professional: Designed by Coinbase's design team
- Stays updated: Maintained by Coinbase with regular updates
- Scales with you: From simple wallet connection to complex onchain interactions
- Open source: Full transparency and community contributions
Resources
Start Building on Base
Ready to add wallet functionality to your application? Install OnchainKit today and have wallet connection working in minutes:
npm install @coinbase/onchainkitOr explore Onchainsite's no-code builder to create blockchain-enabled websites without writing any code.
The future of the web is onchain. Start building it today.